Setup Examples
Learn how to optimize key features like My Wash, Inspections, Services, and Tasks. Get inspiration and ideas on how to properly set up your site to maximize efficiency and get the full value from these solutions!


Parts and supplies
Cat Pumps 6107 ISO 68 crankcase oil, 21-ounce bottle; quantity per pump capacity
Model-matched drain-plug washer or seal
Tools
Drain pan, wrench set, clean funnel, absorbent pads
Lockout kit, gloves, safety glasses
Steps
Confirm pump brand and model. Record hours and oil level.
Shut down and lock out the drive. Isolate water and relieve trapped pressure.
Clean fill and drain areas, then drain the oil.
Report milky oil or metal debris before returning the pump to service.
Reinstall the drain plug with a sound seal and specified torque.
Fill with approved oil to the specified capacity. Check the stopped, level pump sight glass or dipstick.
Restore water, confirm priming, then restart.
Check pressure, noise, and leaks. Record final oil level and hours.
Use Cat Pumps 6107 only with a compatible Cat pump. Standard Cat piston/plunger guidance is first change at 50 hours, then every 500 hours. Resolve the reported water leak before operating this stand.
References and photos
Oil specifications and photo
Oil-change guidance
Service videos

Parts and supplies
Oil filter 39329602
Intake air filter 88171913
Air/oil separator 22388045
Model-matched cabinet pre-filter and supplied seals
Ingersoll Rand Ultra Coolant for topping off
Tools
Filter wrench, sockets, torque wrench
Drain pan, clean rags, absorbent pads
Lockout kit, gloves, safety glasses
Steps
Record operating hours and alarms.
Shut down, lock out power, and release stored pressure using the compressor service procedure. Confirm zero pressure.
Clean around filter connections. Remove old filters and seals.
Install the matching oil filter, air filter, separator, and cabinet pre-filter. Follow specified seal preparation and tightening instructions.
Check coolant level and reinstall covers.
Restart from a safe position and check for leaks, abnormal temperature, and alarms.
Record installed part numbers, hours, and test results.
Part numbers are reference examples for supported UP6 models. Confirm model and fit before ordering. The manufacturer hour-based interval takes precedence over the calendar schedule.
References and photos
UP6 filters, service kits, and photos
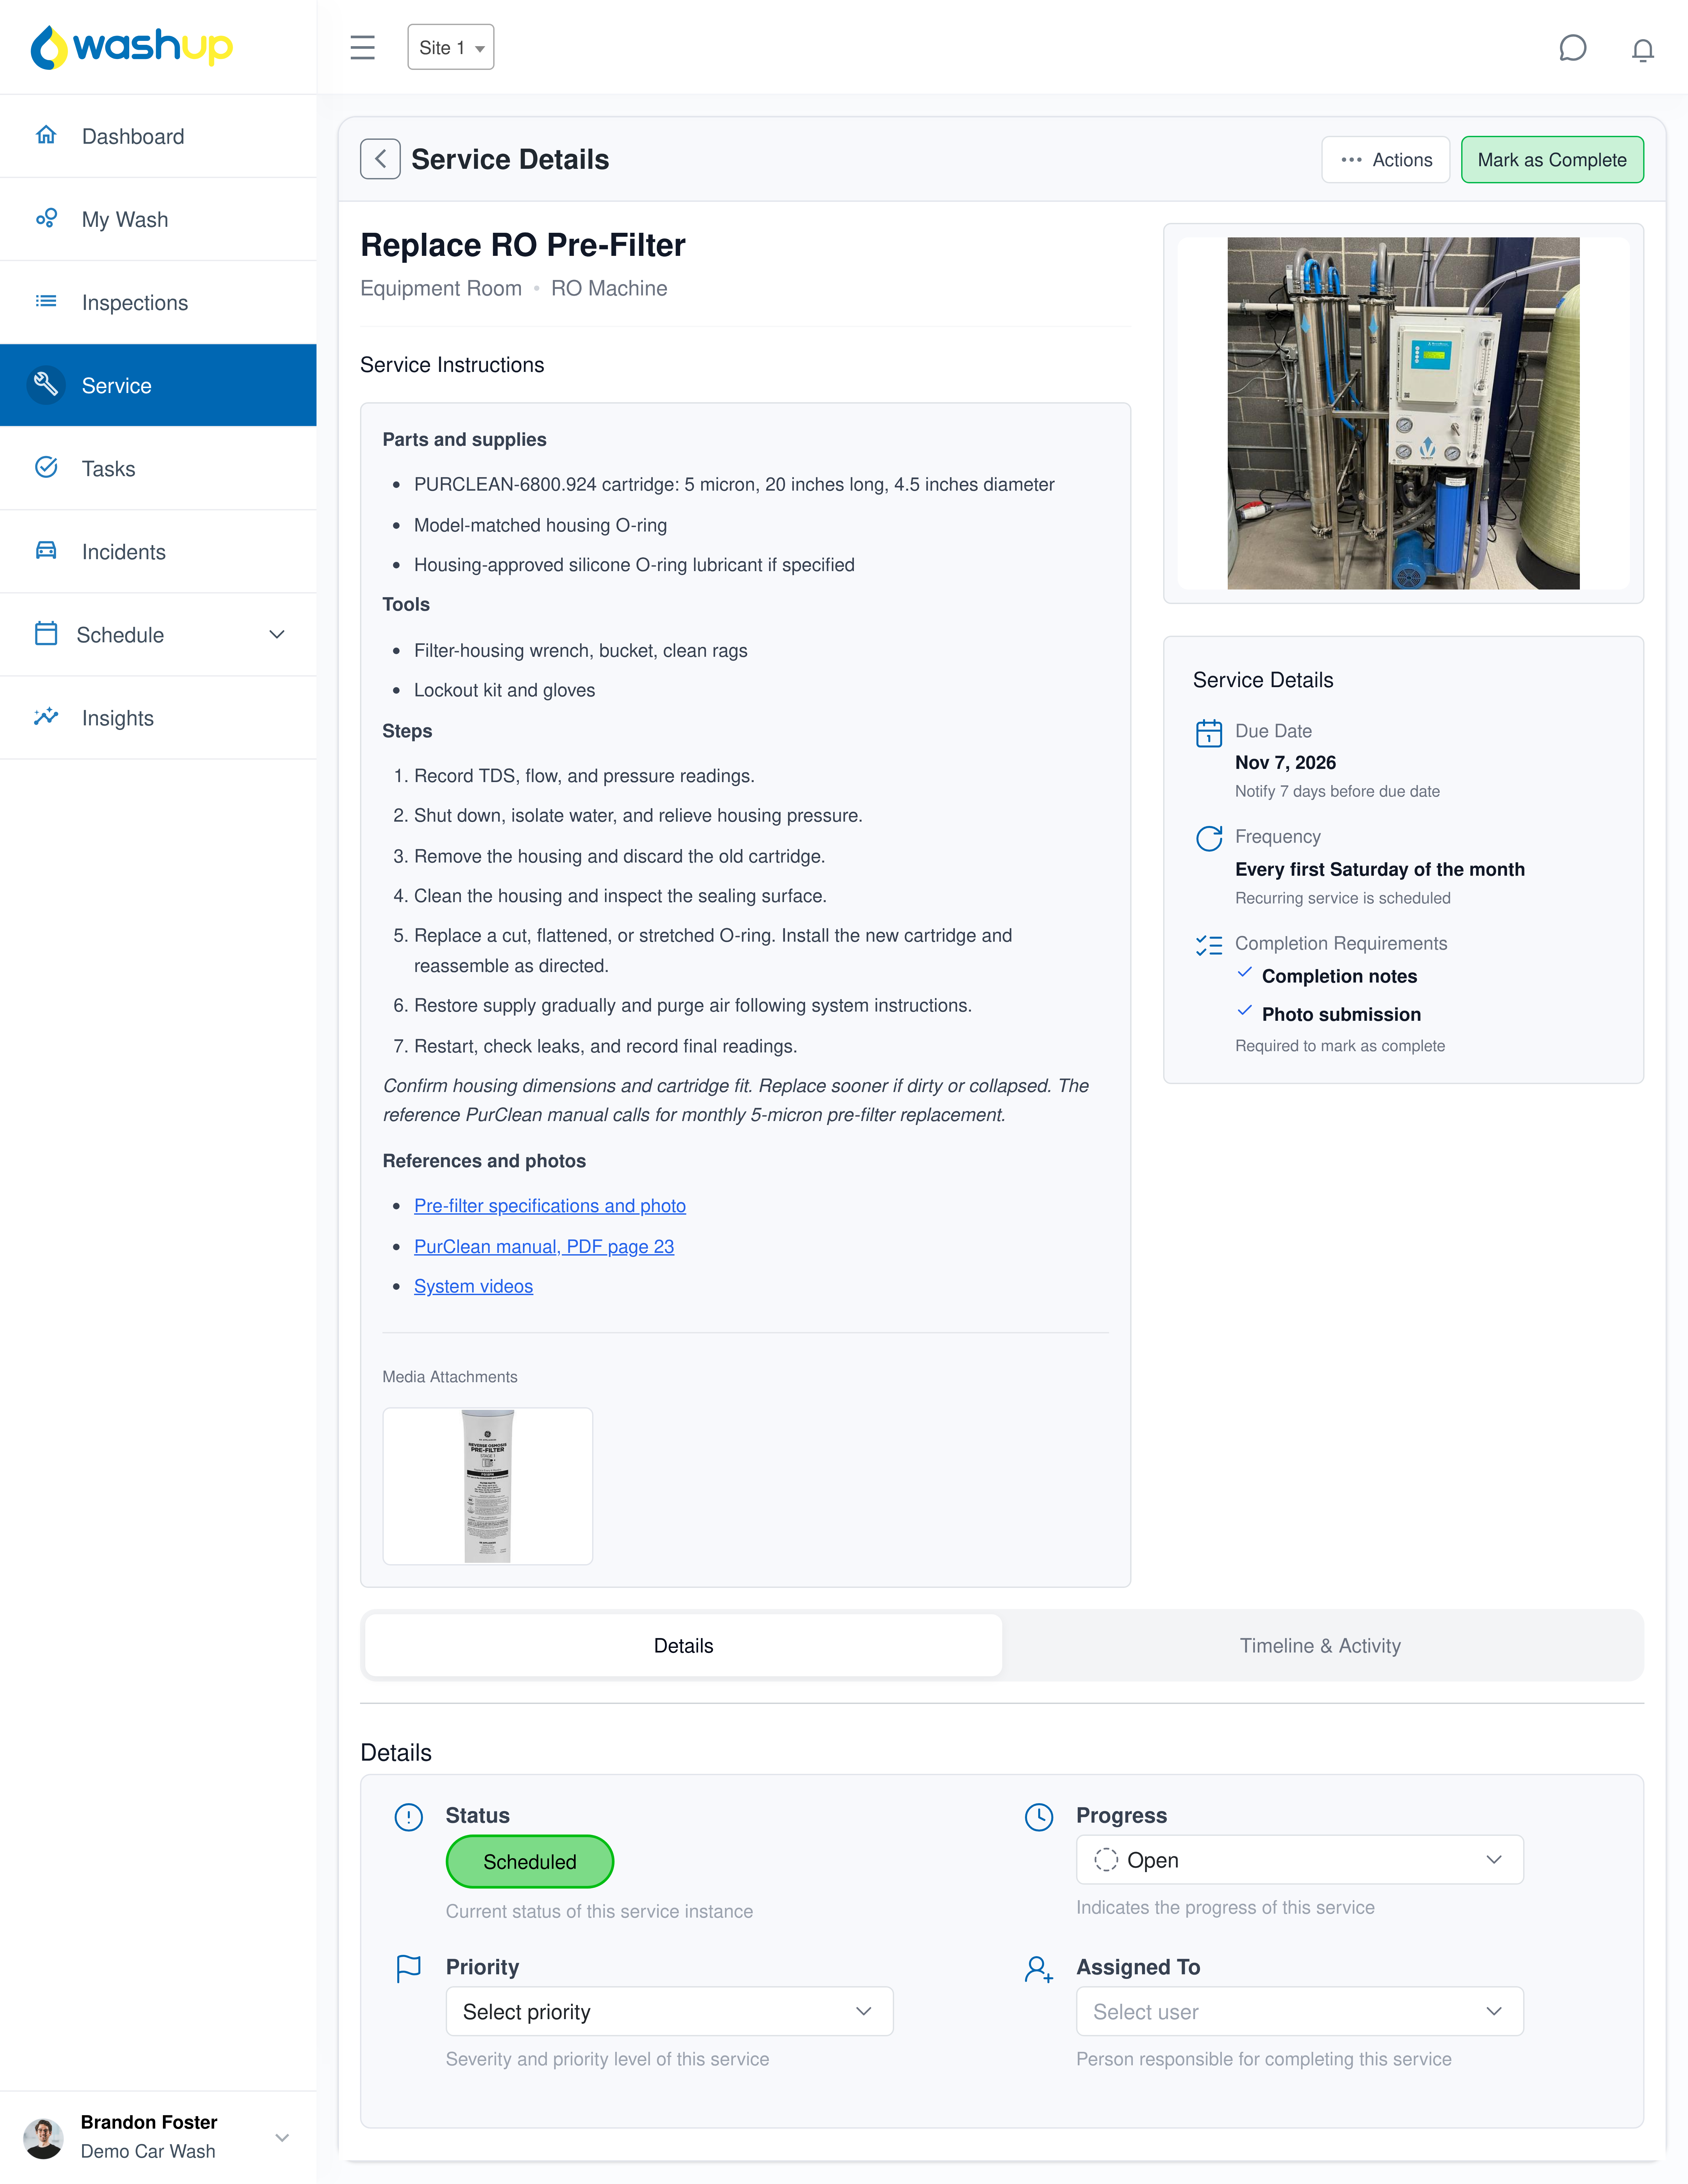
Parts and supplies
PURCLEAN-6800.924 cartridge: 5 micron, 20 inches long, 4.5 inches diameter
Model-matched housing O-ring
Housing-approved silicone O-ring lubricant if specified
Tools
Filter-housing wrench, bucket, clean rags
Lockout kit and gloves
Steps
Record TDS, flow, and pressure readings.
Shut down, isolate water, and relieve housing pressure.
Remove the housing and discard the old cartridge.
Clean the housing and inspect the sealing surface.
Replace a cut, flattened, or stretched O-ring. Install the new cartridge and reassemble as directed.
Restore supply gradually and purge air following system instructions.
Restart, check leaks, and record final readings.
Confirm housing dimensions and cartridge fit. Replace sooner if dirty or collapsed. The reference PurClean manual calls for monthly 5-micron pre-filter replacement.
References and photos
Pre-filter specifications and photo
PurClean manual, PDF page 23
System videos